
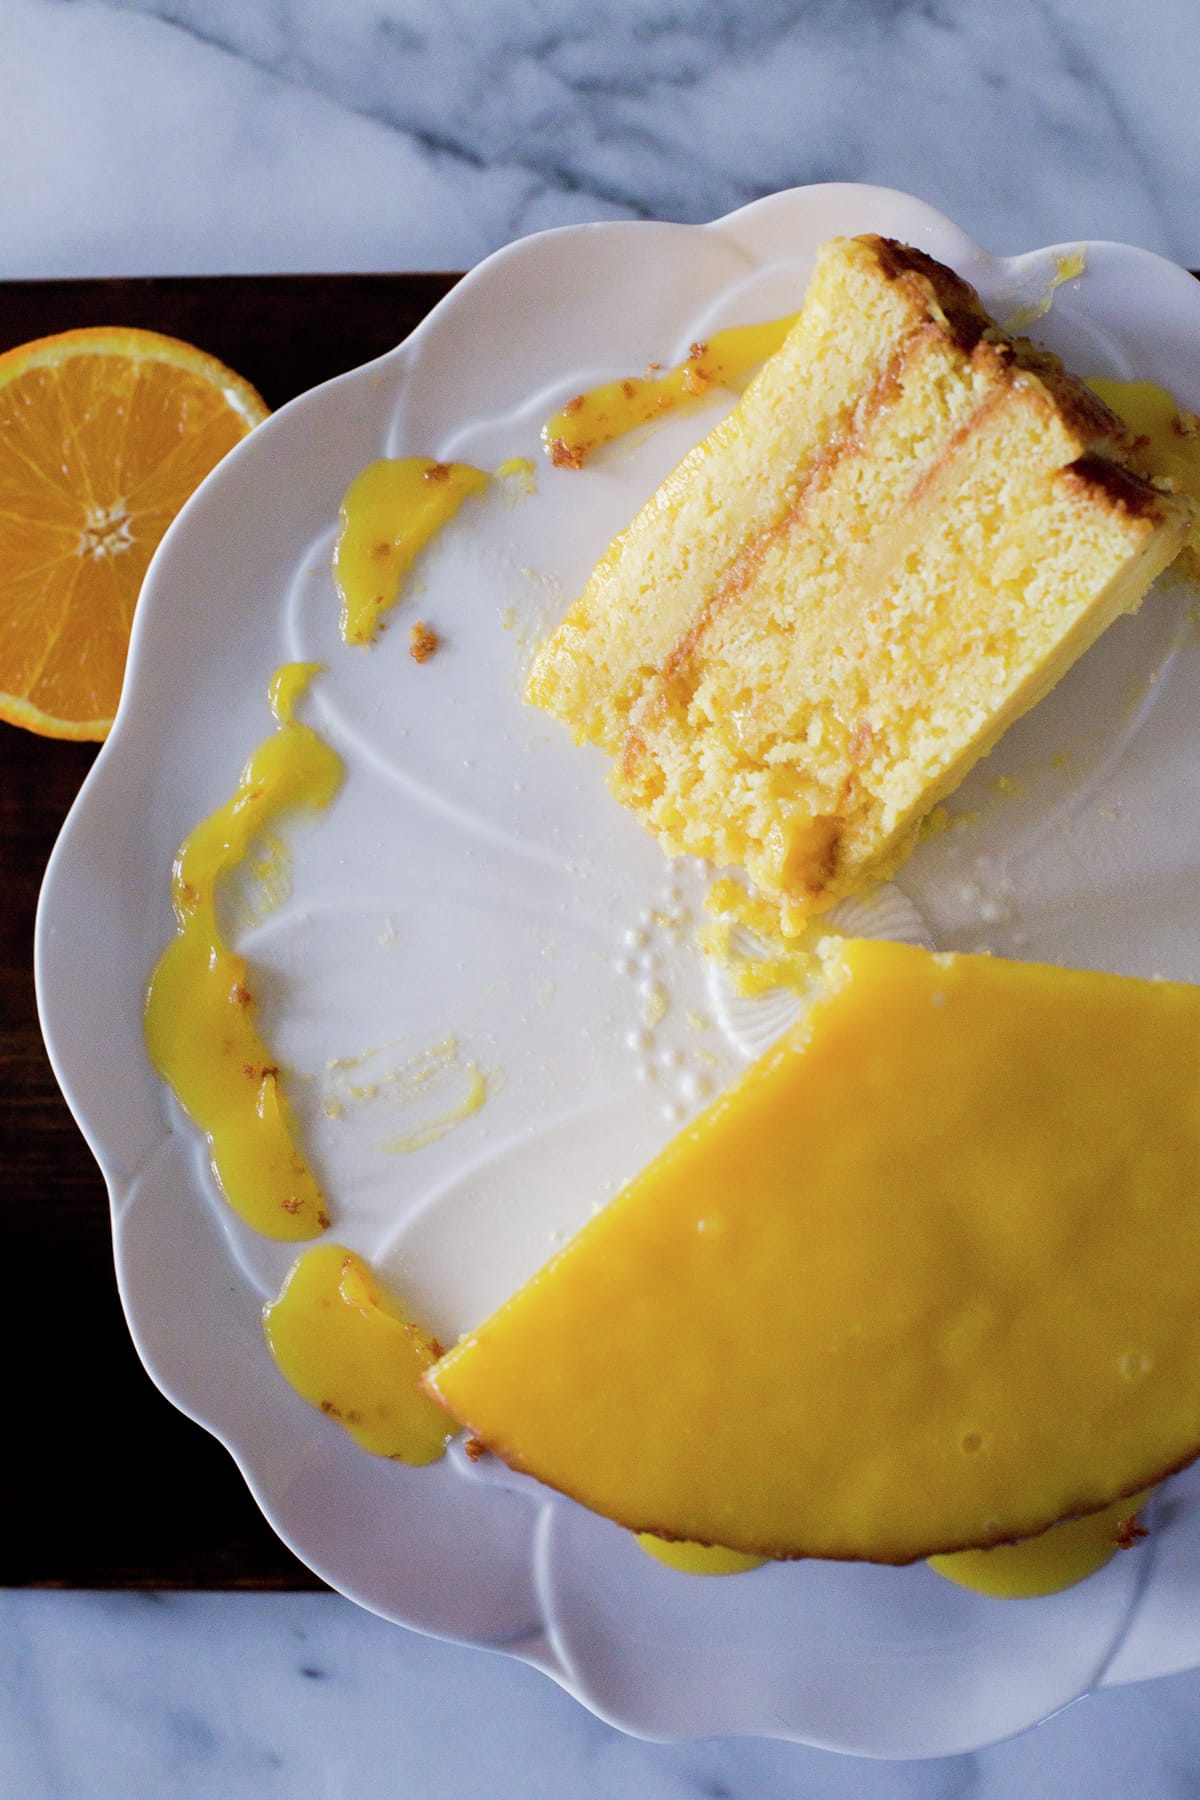
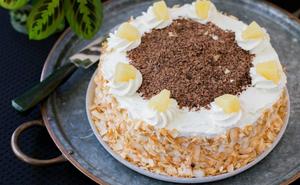
This orange layer cake is a recipe from my mom, and I remember having it as my birthday cake in Chile several years growing up. I have always liked it a lot, and this year I decided to make it for my birthday in August. This was not a good idea.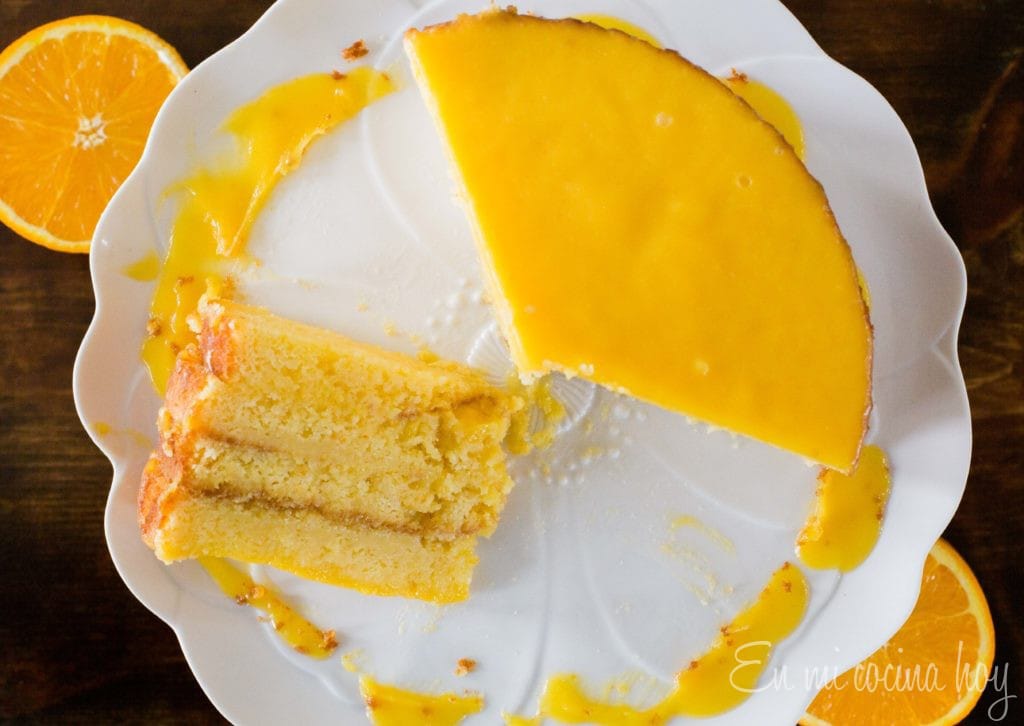
I discovered this is a winter cake, and now, living in Houston, my birthday is in Summer. I bought some South African oranges, which had less flavor.
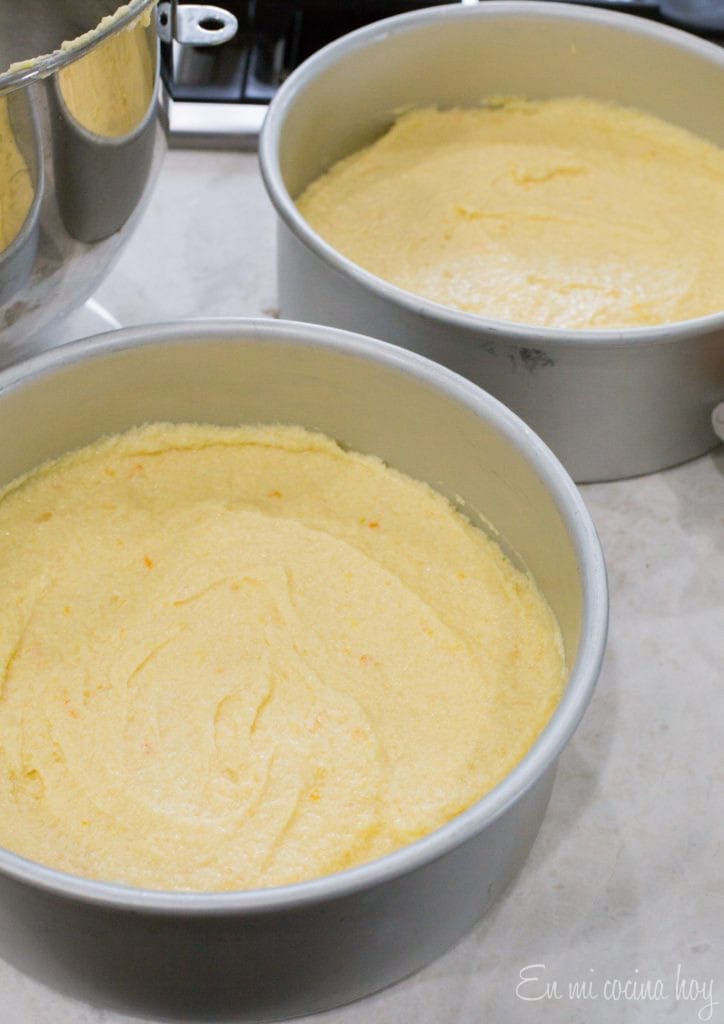
The cake is light and sticky, so prepare your baking pans well and bake it in 3 molds. Baking it in a single pan is not recommended since it tends to cake.
Visit our collection of Chilean recipes here.
Print
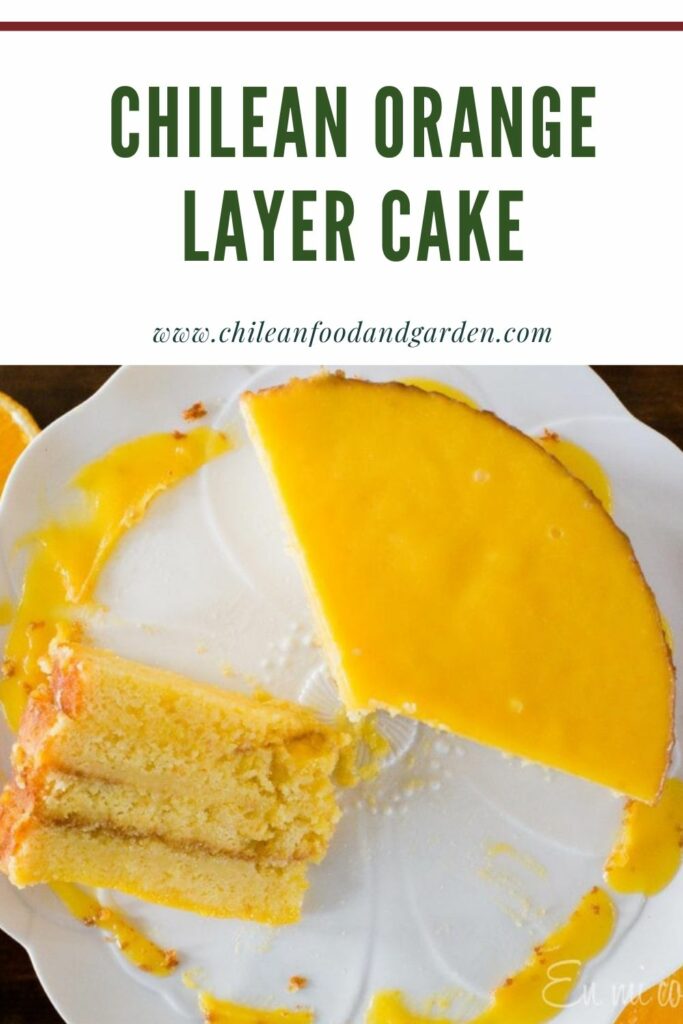
Chilean Orange Layer Cake
- Prep Time: 2 hours
- Cook Time: 1 hour
- Total Time: 3 hours
- Yield: 16
- Category: Cakes
- Method: Baked
- Cuisine: Chilean
Description
Different and full of flavor.
Ingredients
- 1 pound of butter at room temperature
- 1 pound of powdered sugar sifted
- 250 grams of sifted cake flour
- 3 teaspoons baking powder
- 6 eggs, separated yolks, and whites
- 3 oranges, their zest, and the juice of an orange (½ cup of juice)
- 1 lemon, juice, and zest
- 3 oranges, zest, and juice (1 ½ cups of juice)
- 6 eggs
- 500 grams of granulated sugar
- 125 grams of butter
Instructions
- Preheat the oven to 350F or 180C. Prepare three 8″ baking pans, put a circle of parchment paper at the bottom, and butter.
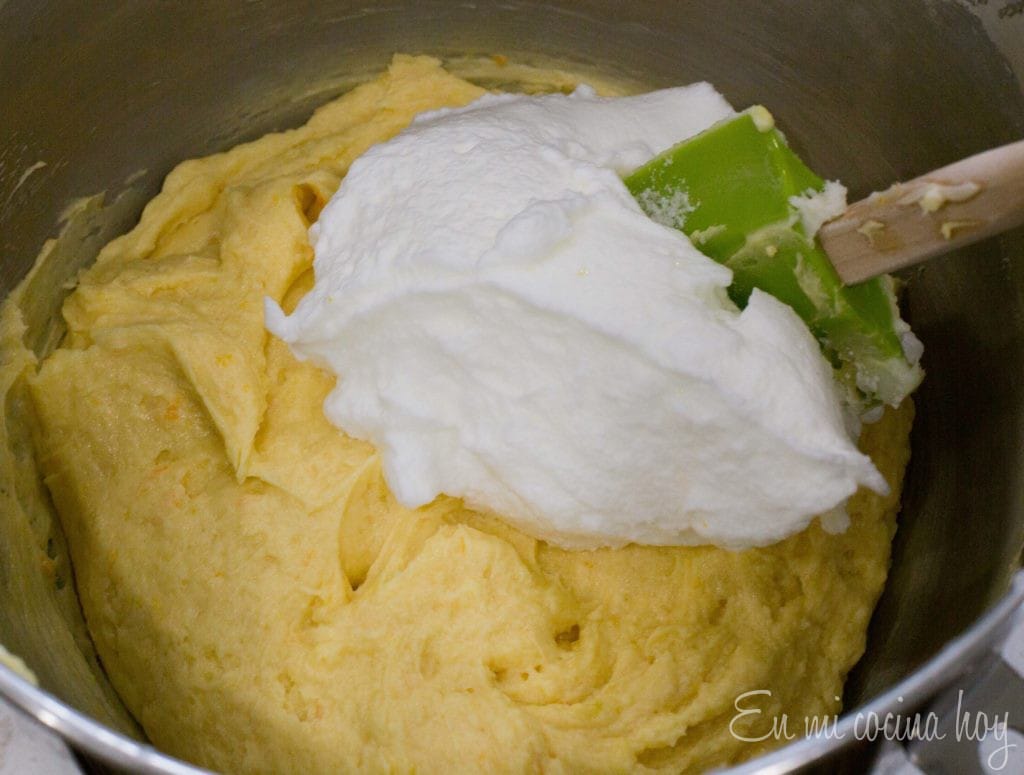
- Beat the egg whites to stiff peaks and reserve. Beat the butter with the sugar until it is creamy, and add the yolks one by one. Mixing entirely before adding the next one. Add the orange juice, the grated zest, and the lemon juice and its zest. Beat until incorporated. It will curdle.


- Add flour and baking powder, and mix thoroughly.
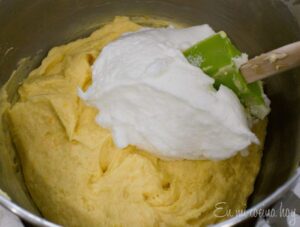
- Add the whites in 3 additions, incorporating enveloping movements to conserve the air trapped in the whites.
- Distribute the batter in the three prepared 8″ baking pans. You can weigh the mixture to make sure that all are equal.

- Bake for 25 – 30 minutes until they are golden brown, they have begun to separate from the edge, and when burying a toothpick, it comes out clean.
- Allow the layers to cool before unmolding and peel the paper and assemble the cake.
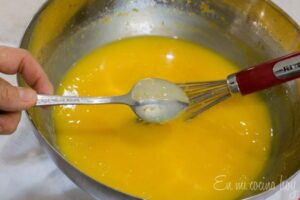
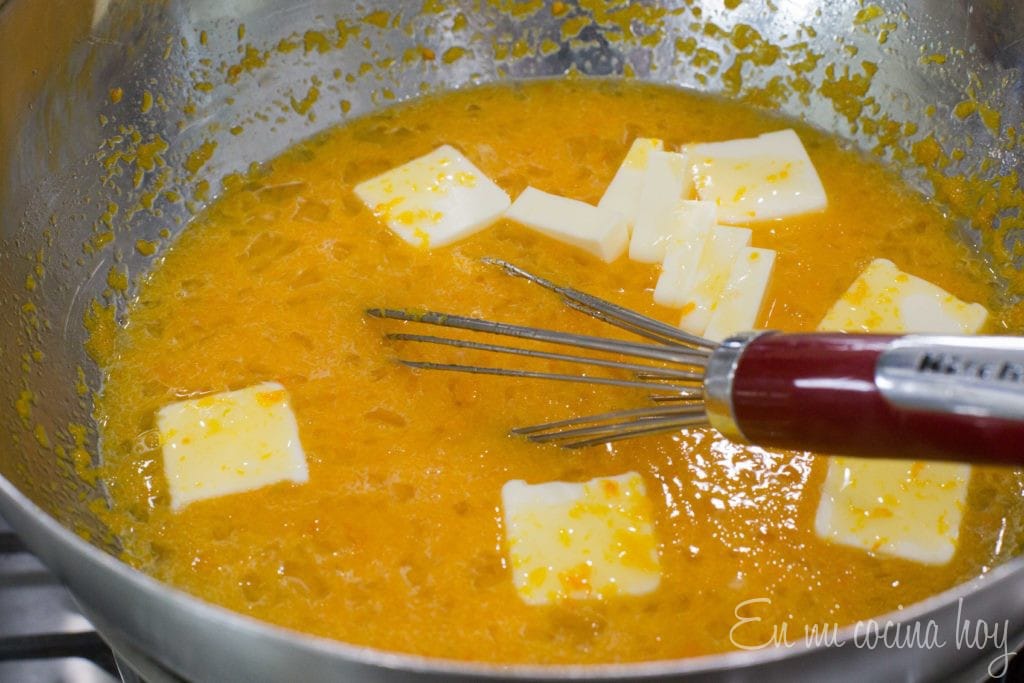
- For the filling: beat the orange juice with the eggs until incorporated, add the orange zest and the sugar, and finally, the butter cut into small pieces.

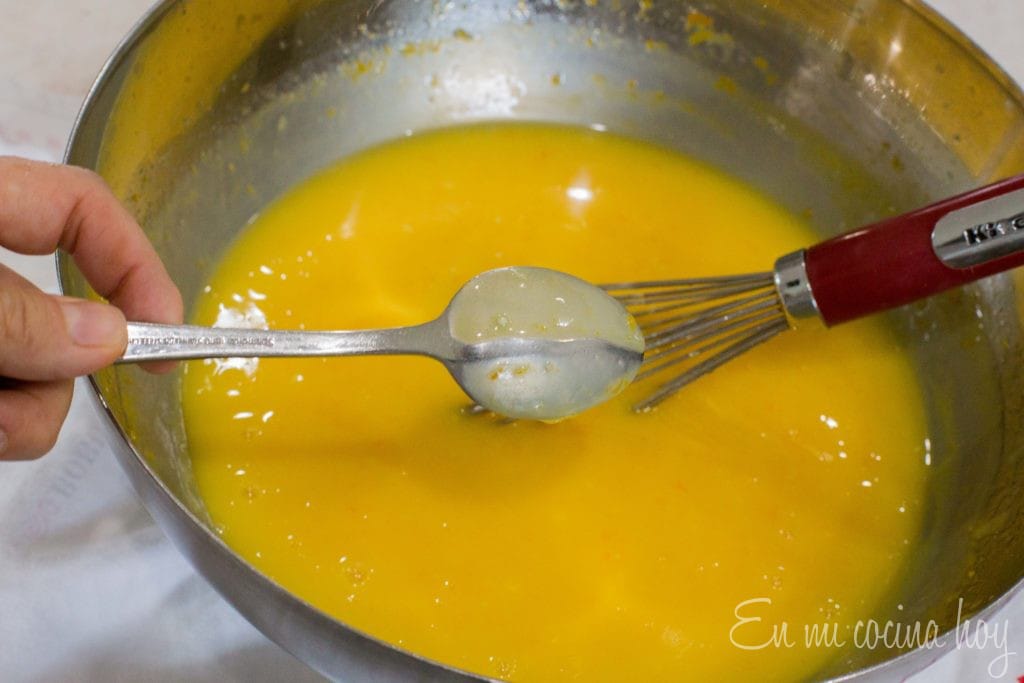
- Cook in a bain-marie until it thickens, frequently whisking for about 25 – 30 minutes. Allow cooling before assembling the cake. The filling can be done the day before and kept refrigerated.
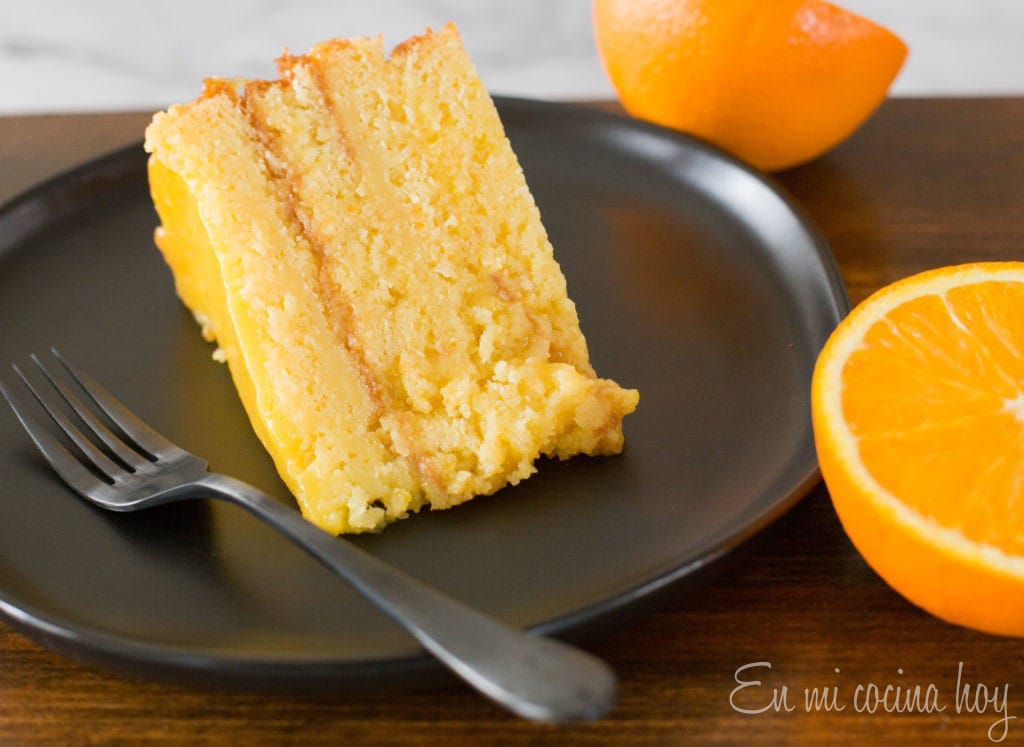
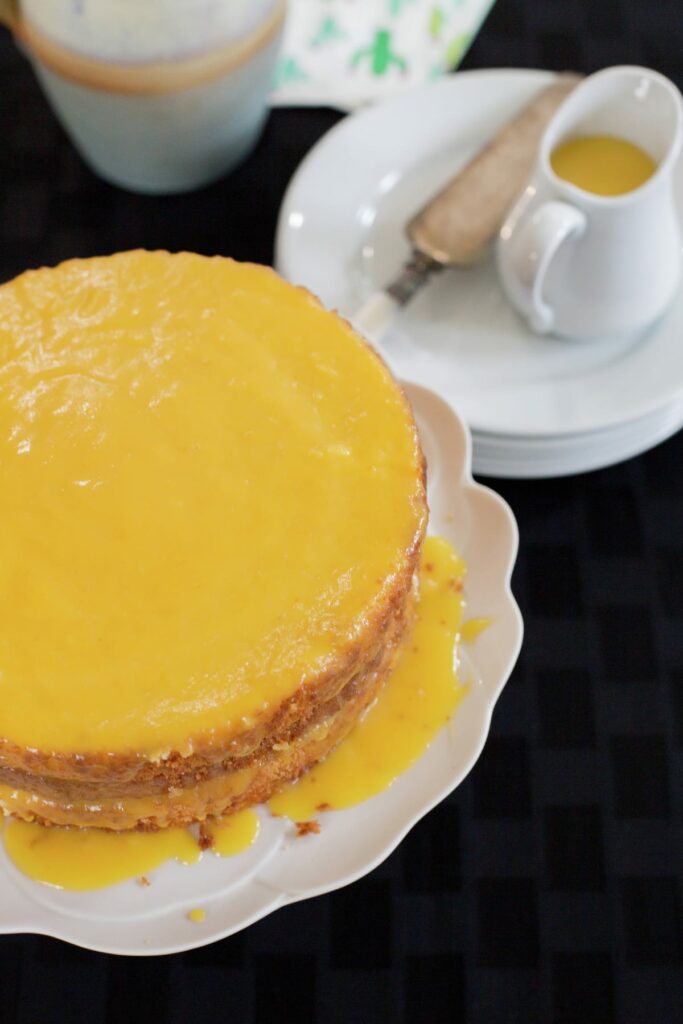
- To assemble the cake, alternate layers of cake with layers of orange curd and finish covering the whole cake with orange curd.

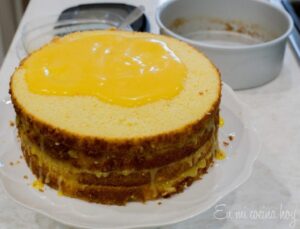
- Keep refrigerated. Remove 30 minutes before serving or serve cold. It is better to make this cake the day before serving so that all the flavors develop.


Notes
If your orange curd doesn't thicken, add 2 teaspoons of cornstarch dissolved in ¼ cup cold water. Then you must cook the curd to boiling point so the cornstarch activates. Do this on the stove, but be careful not to burn the curd.

Anonymous says
Taste is great but the curd won’t thicken. I’ve added significant butter and cornstarch in an attempt to thicken it in addition to over an hour on the Bain Marie. As written the recipe simply doesn’t work. I can only imagine the recipe should say 6 egg yolks rather than 6 eggs for the curd
Pilar Hernandez says
Thanks for commenting. If you add cornstarch, you must cook the curd on the stove (the Bain Marie will not do). Cornstarch thickens at boiling temperature.
I will re-write the recipe to be more clear on that.